In this chapter, you will learn how to nest objects within frames. It is possible to nest one frame within another frame or one object within another using the Paste Into command in the Edit menu.

Nesting frames offers a lot of possibilities to create some good effects and the nesting can continue even further.
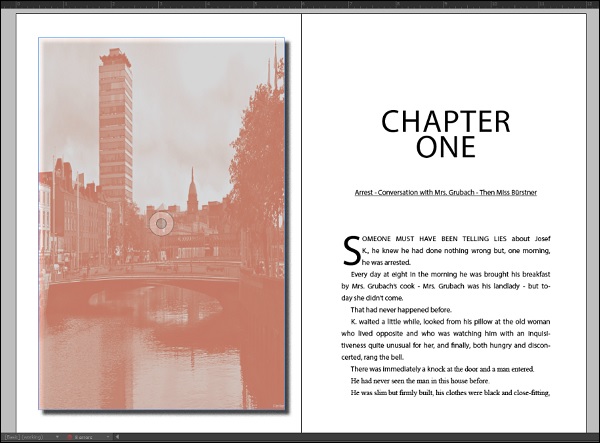
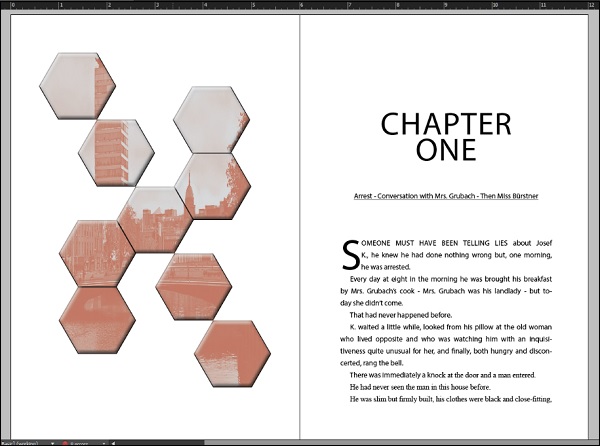
In this example, we will nest the image in polygons to get a sense of perspective.
Create polygon frames by selecting the Polygon tool from the toolbar and draw as many polygons as needed. You can get as creative as possible.
Now cut the background image by selecting it using the Selection tool and press Ctrl+X on Windows or Command+X on the Mac.
Select each polygon and go to the Edit menu and select Paste Into to paste the relevant parts of the image into each polygon.

You can add some effects to this to make it stand out. To add effects to all the polygons at once, click and drag along all the polygons with the Selection tool to select all of them and go to the Objects menu and select Group to group them as a single object.
Now, go to the Effects panel and apply the desired effect, say a little bit of Bevel and Emboss effect.
Nesting is very useful to create high impact content. You can also nest a text frame into this new nest.
No comments:
Post a Comment